
If you follow me on Instagram and see the soccer photos I post, you may know that I use the hashtag #crapsportsphotography. This is for two reasons:
- Often my photos are crap.
- Even if I manage to capture an image that happens to be void of crap, I like to denote that I am a dimwitted amateur photographer as a way to keep my ego and my bank account in check.
I have sold a few photos in my life—and someday I would love to make some extra coin shooting editorial and documentary style sports photography— but I can count my sales on one hand. And the amount of money I’ve made shooting sports (cycling, soccer, motocross) roughly amounts to the price of a one game ticket. And I’m not even factoring in the thousands of dollars I have spent on (mostly used) camera equipment and software, which takes me deep into the red.
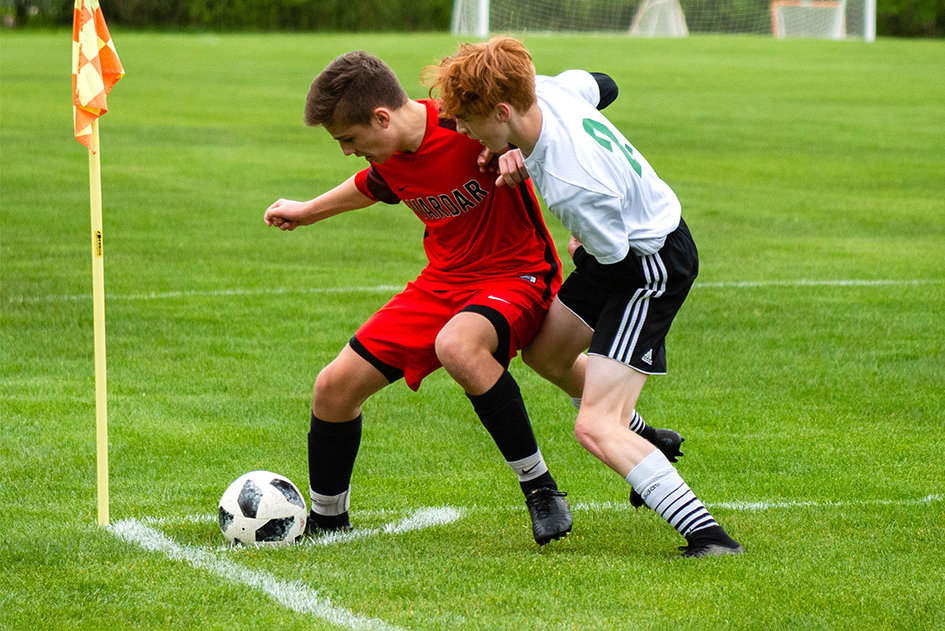
B’s first club match ever. His technique has gotten better, and I like to think mine has!! Shot with a Canon s95!
***
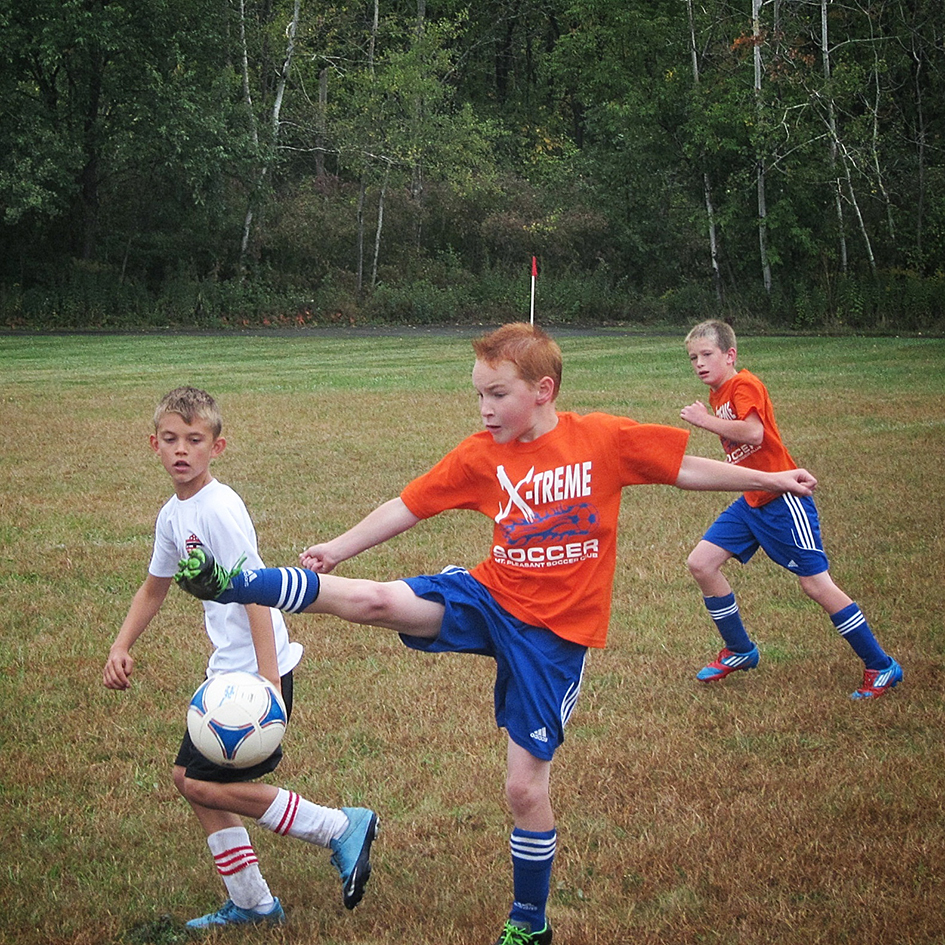
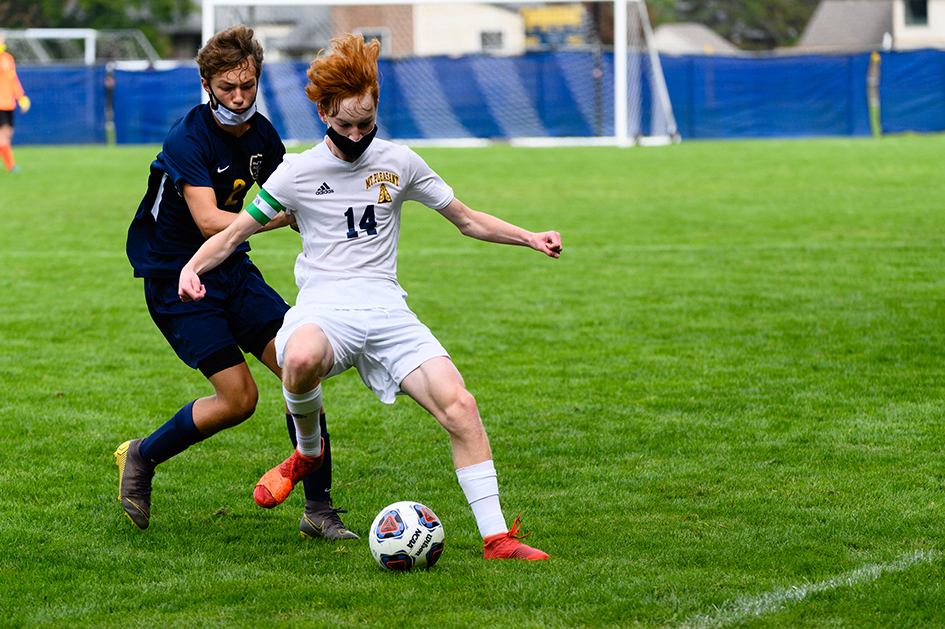
More early days of B with the MP club and early days for me, still with the D3200 and shooting like crap! But better crap.
With that out of the way, I now offer some #crapsportsphotography opinions and tips for newbies, parents, and grandparents who might want to shoot some soccer or other sports. Yes, some of what I am about to write concerns some (used) pro-level gear, but 7 or 8 years ago, I was using a big box store/consumer level body and kit zoom lens and got enough keepers to light the fire under another hobby’s ass and drain my bank account. Most, if not all, of my crap tips can be utilized on any DSLR or modern mirrorless camera.
Please remember, I am NOT a professional and clearly not a teacher.
For most of my outdoor soccer, I use a use an 8-ish-year-old, full-frame Nikon D4 body that I bought from usedphotopro.com for less than 1/4 of its original MSRP, as well as a pre-owned Sigma 150-600mm variable aperture (5-6.3) zoom lens utilizing a monopod. The body is older and can be a bit dated when compared to the Nikon D850 and all the latest mirrorless equipment but it’s workhorse and many pros still use it to this day.
The lens is HEAVY and not always the best for lowlight or kick-ass separation of the subject and background, but it works for me. I do own a (used) Sigma 70-200 2.8 lens and use that for off-season indoor matches and tournaments when I am mainly shooting just B and am patient for the action to come to me. But as self-appointed “unofficial team photographer” for the MPHS and Fusion 04 boys I need/want as much access to the pitch as possible from my vantage point so I can capture memories for the team and their parents. #crapsportsphotography #soccerdad

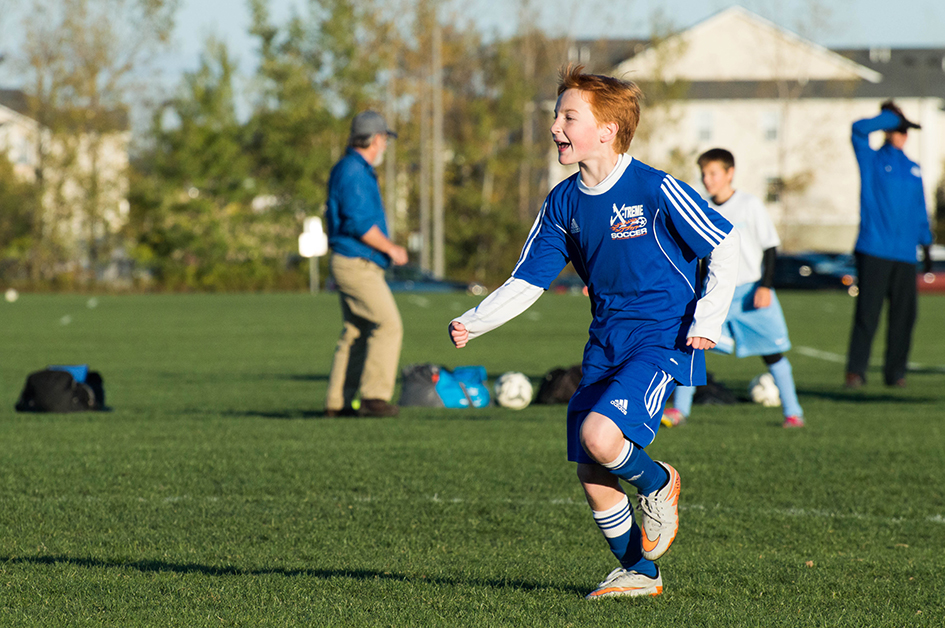
B continued to improve as a player and moves to Fusion (2017?), and I get a bit more at ease behind the camera.
***
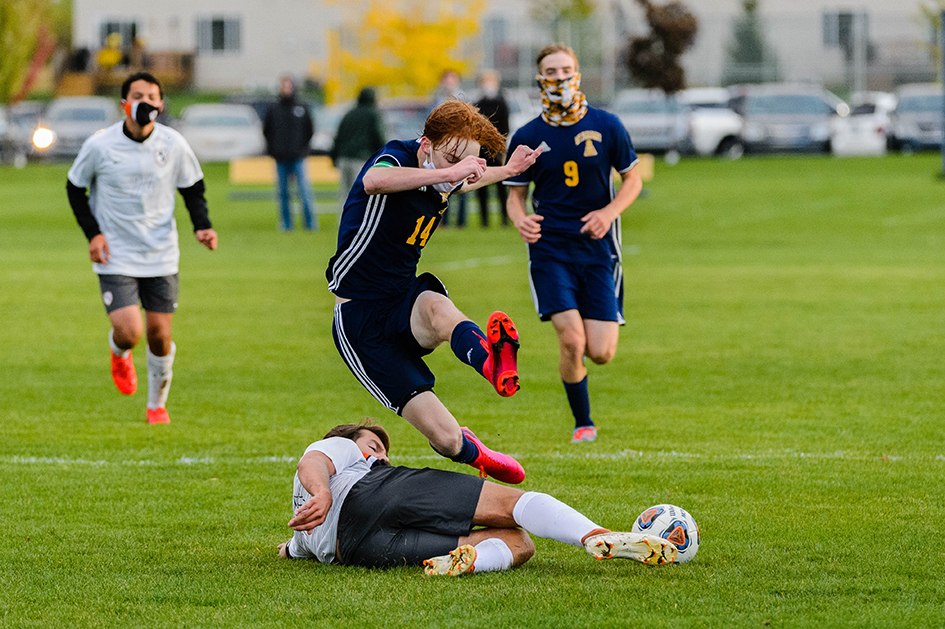
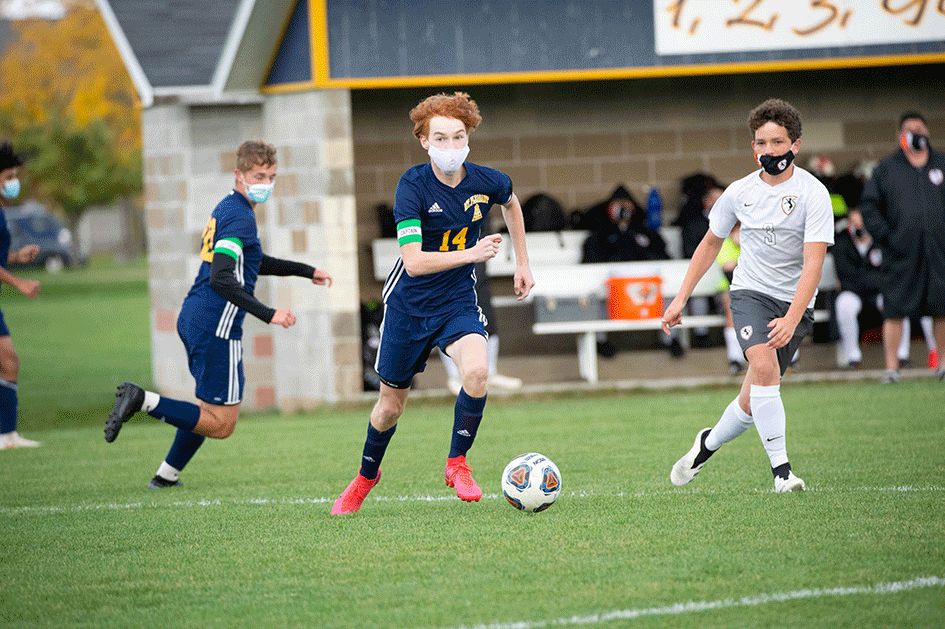
B playing with Fusion vs. Vardar ECNL in the 2019 State. Fusion lost 3-0 but against such a powerhouse, it felt much better!
Having said that, I have used the Nikon Z6 mirrorless with an FTZ adapter for about half of this season’s matches, but only because I can REALLY push the ISO on it and still use my 600mm lens in the dark fall days and evening matches under the lights. I got some really good images IMO, but I’m still a fan of the tank-like D4’s autofocus and handling for sports, saving the z6 for 90% of my riding and hiking photography. As much as I love my Z6, for sports, I find that when I use it I can sometimes do too much “spraying and praying,” filling up memory cards, and put a hurting on battery life.
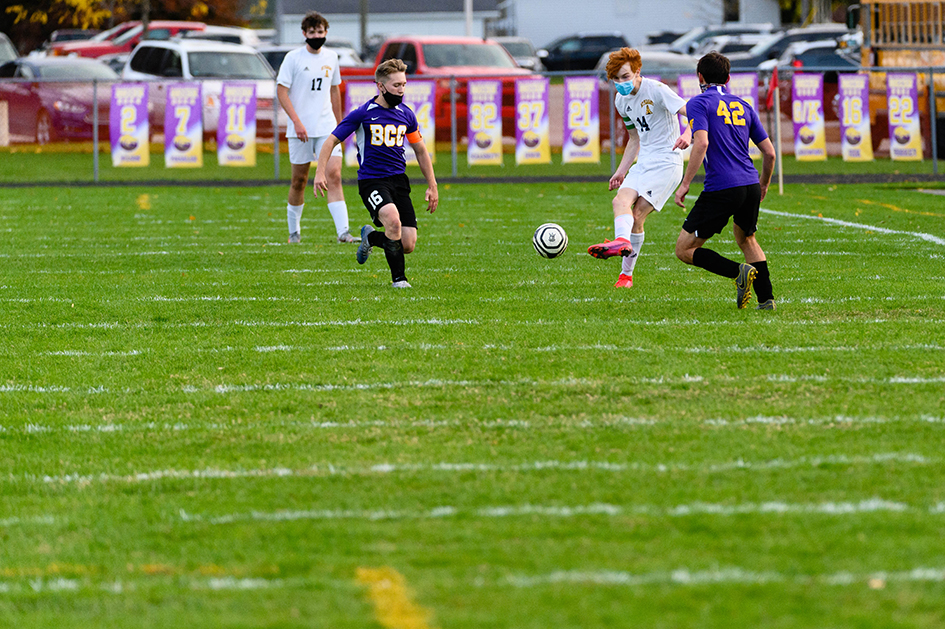
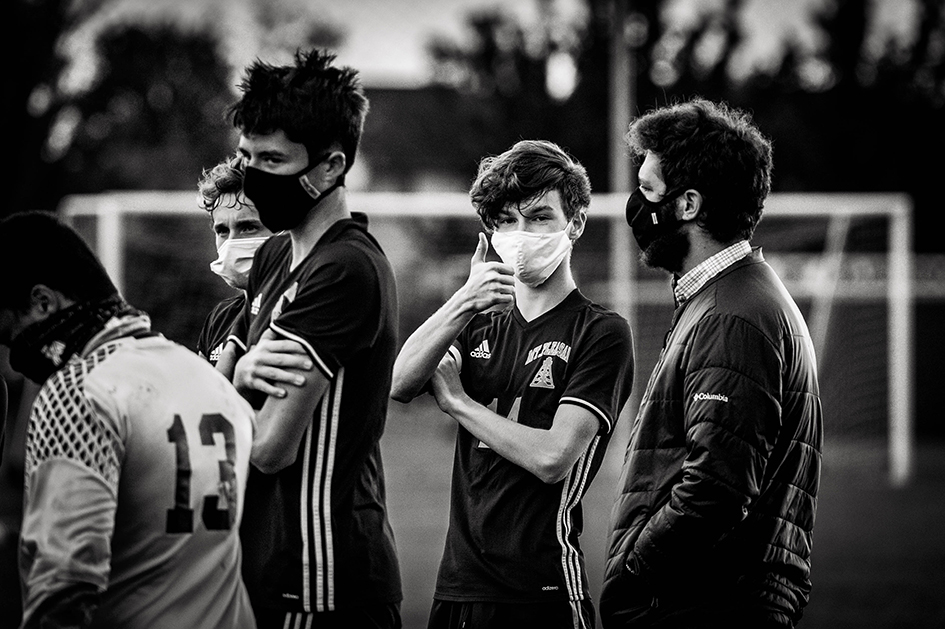
2020, Pandemic Soccer.
With my equipment choices out of the way, I will list the things I have learned to do over the years. I hope this may help other parents capture some shots of their kid in the future. If you don’t know a term I use, bust out your owner’s manual, or do a quick search on the Googles or the YouTubes. I know this is a lot of info, but it’ll be here, come back any time
MY CRAP SPORTS PHOTOGRAPHY PROCESS/MANIFESTO:
The super slimmed down version: Shoot in manual, anticipate the action, fill the frame as best you can, edit, practice, make mistakes, learn, get better.
Or read on and be completely overwhelmed.
- Insert and format your memory card before each game (make sure you have downloaded everything from your previous use first because formatting it will delete it all).
- Do NOT use the “SPORTS” mode on your camera. You might get a lucky shot with the Running Man icon, but most of the time, they will be crap. Set your camera to M (manual) mode.
- Once in M, adjust your ISO. Because I shoot mostly outdoors in Michigan—where the weather and light can change 5 times in 5 minutes—I use Auto ISO with the high limit set to 6,400 ISO on the D4 or 12,000+ on the Z6. Setting it to Auto ISO is one less thing I have to think about.
- White Balance. I set it to Auto and correct in post only if the pic REALLY needs it.
- For day games, I start with my shutter speed set at 2000. This will freeze the action and prevent motion blur. For night games, you may have to drop your speeds down, and you may get a tiny bit of blur, but just like the noise from a super high ISO, it comes down to getting a shot or not getting a shot. And you want the image and the memory of the day!
- Set your frame rate on the camera. I set my D4 to 11 frames per second but then customize it in the menu to 10 FPS (as recommended by my fave footy photographers). Some big box cameras may only shoot 5 FPS, and that’s fine; just set it to 5. Remember, there was a day that photographer would have killed for 5 frames per second, and one of my backups only shoots at 6, and I never bitched!
- Set your focus mode to AF-C. On a Cannon, I believe it is called AI Servo AF. This helps you to acquire and maintain focus on a moving subject as long as your finger is pressing halfway on the shutter button, or in my case, my thumb on the AF-ON button on the back of the camera. Consult your manual or the web for more info. Back button focus really is a game-changer for sports, and now I use it for all my shooting.
- Most cameras offer you a focus area for whatever focus mode you choose. On my D4, I keep mine at 9-point dynamic-area AF. This keeps the center NINE points actively predicting autofocus and helps prevent me from capturing other subjects that may enter the frame.
- If your lens has it, switch on the image stabilization. This isn’t all that important for sports since you’re using high shutter speeds. It can still help prevent unwanted motion blur while using heavy lenses (as does a monopod).
- Aperture can be tricky. My big ass Sigma is a variable aperture lens. That means as the lens zooms from 150mm to 600mm, its aperture changes. At 150 is f/5, but as I zoom out to 600, it moves to f/6.3. This means less light is getting in. BUT with ISO set to Auto, I shouldn’t have to worry about lowering my shutter speeds. F/6.3 also means that a bit more is in focus. This can be great for getting a crisp image of your subject, but not so good for separating them from a busy background of other players or fans. Most pros are using a lens with a constant (“fast”) aperture of 2.8 to 4. As a crap sports photographer working solo, trying to cover as much of the pitch as possible, I sacrifice aperture for focal length. MOST parents or kids could care less about bokeh or background focus. They just want to see themselves or their kid in action, even if I look at it and think it could be better with a faster “pro” level lens.
- JPEG or RAW. Personally, for high school sports that are played in the late afternoon, evenings, or under the lights, I shoot in RAW and edit in Adobe Lightroom. This gives me more control over the file’s data, and I have been able to save more than a few shots that were underexposed. When shooting soccer in the daylight, I can usually switch to JPEG and get by just fine. This saves room on the SD card and on my computer’s hard drive. This is especially helpful on a tournament weekend when you might play 2 games in a given day and might not have extra SD cards. Also, with my background in graphic design, I have access to the Adobe Creative Cloud, and I’m proficient with Lightroom and Photoshop. Many parents will not have access to this software, and shooting in JPEG means they can edit in software like iPhoto or similar.
- When shooting, try to anticipate the action. The more familiar you are with a sport, the better. I’m a bikes and soccer guy. Could do football and hockey, but would probably be lost at a basketball game.
- Fill the frame as best you can in camera. If not, crop. Some photographers poo-poo cropping, but I’m not them. Aunt Martha on Facebook doesn’t give a shit if you crop or not, she just want to see her nephew in between Trump memes.
- Editing. This can be a personal choice, but I edit (or delete!) almost every image I take, a daunting task when you come home from a match with 1,000 photos! But after I weed out all the crap (there is a LOT when you’re an amateur like myself), I then set to work on the files.
- I have streamlined my RAW processing a bit over the years by developing my own Lightroom presets for my photo style, light, and conditions but almost always start by cropping and straightening the image. Then I add/adjust my preset. 99% of the time, this will center on the contrast, highlights, and vibrance of the image. I like the image to pop a bit, whether in color or black and white. Muted images are cool, but I tend to do that more with nature photography. I also have developed a love for some black and white images. You can see an example of an edit below. Note that it lost some color boom in the GIF process.
- If I have shot in JPEG, I still edit but tend to just crop, straighten the horizon, and up the contrast a bit. This is just my style. You might not dig, or might have a style of your own.
- Once all the files are edited (or just enough to upload a few to Instagram on match night), I rename the files and upload them as JPEGS to a gallery on Smug Mug. Side note: I keep my team galleries private and only provide the team and parents with the links. This also helps to assure parents that photos of their kids aren’t finding their way onto the hard drives of pedos with soccer fetishes or a potential kidnapper. I find this more important the younger the kids are, but continue to do it out of habit and respect to the parents. This is something that I never really think of as a parent, but many do. I guess I’m used to
thinkinghoping that someone will kidnap me someday. - Once you are absolutely sure all the photos are edited and uploaded to your gallery, you can think about deleting the original files. I tend to wait until the end of the season unless hard drive space is at a premium.
- KIND OF A BONUS TIP: When shooting, try to get down about chair level. I don’t do this much when it’s cold because I am a big guy made bigger with layers of clothing on, and it can be cumbersome getting up and down. And I ain’t gotz no stool.
- BONUS TIP THAT I DON’T ALWAYS DO: Have a backup battery and SD card with you. And for the love of Dog, make sure you have an SD card in the camera before you leave the house!
- BONUS TIP THAT I CONTINUE TO DO: Keep learning! Most of the stuff I have picked up over the years I got from watching photography channels on YouTube. There is a seemingly endless list of quality photographers willing to share their expertise with people. It’s fairly easy to find some tutorials that will work for you, your camera, and your learning style. I do WAY better watching someone than reading a manual.
- BONUS TIP THAT I’M STILL LEARNING TO DO: Shooting action is what draws one to shoot sports (or wars), but don’t forget the little things too! Hugs, tears, and laughs on the sidelines and other parts of the game day experience can make for great photos and memories. This can be even more fun when shooting over a tournament weekend when you may be in a new location, seeing things for the first time with your son or daughter.
This animated GIF will shows the original to my final edit (with some loss in quality due to GIF).
I know this post and all this ill-written info might seem daunting, but the more you do it, the more it becomes part of the match day routine. And no, just because you’re shooting photos of your kid doesn’t mean you should feel pressure to shoot the whole team! I started out just shooting my son but realized that if I walked around the pitch taking photos, I could remove myself from the plethora of opinionated parents who know fuck all about soccer, thus lowering my blood pressure. I also do it because I want to, and the kids and parents—even the loud mouths!— appreciate it. My underemployed status also gives me a bit more free time than many busy parents who are just happy to make their kids’ games, let alone shoot and edit photos!
***

***
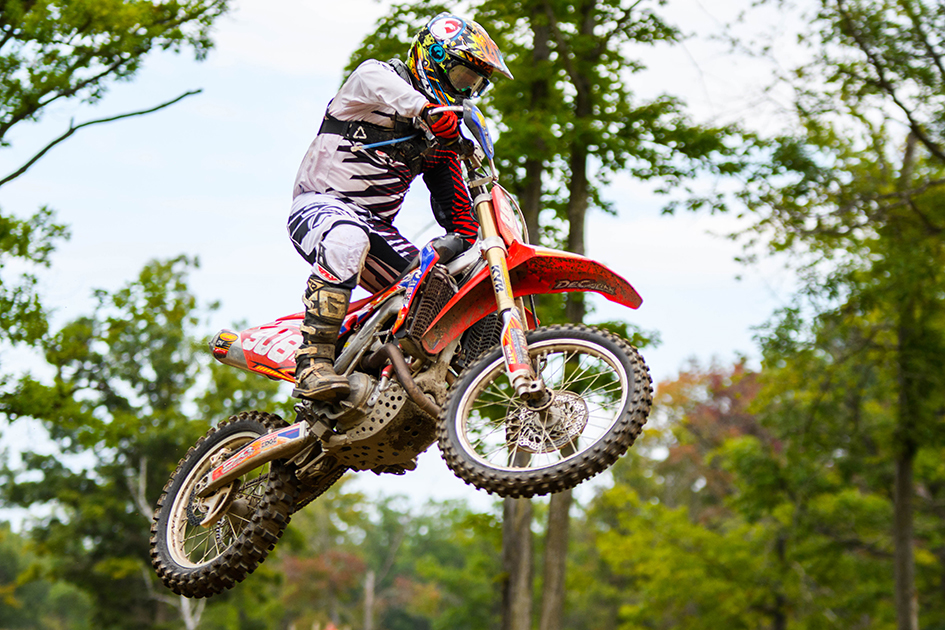
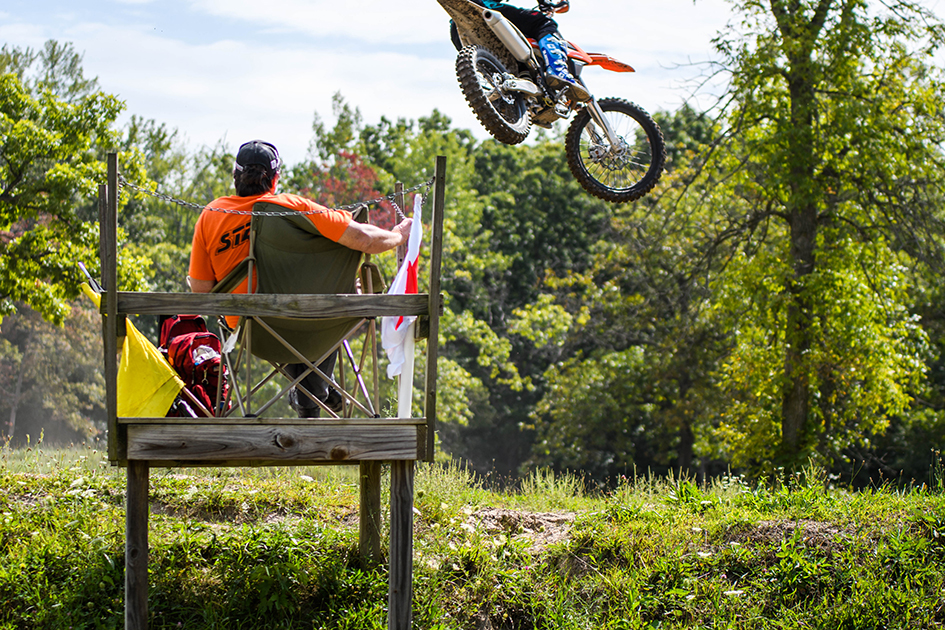
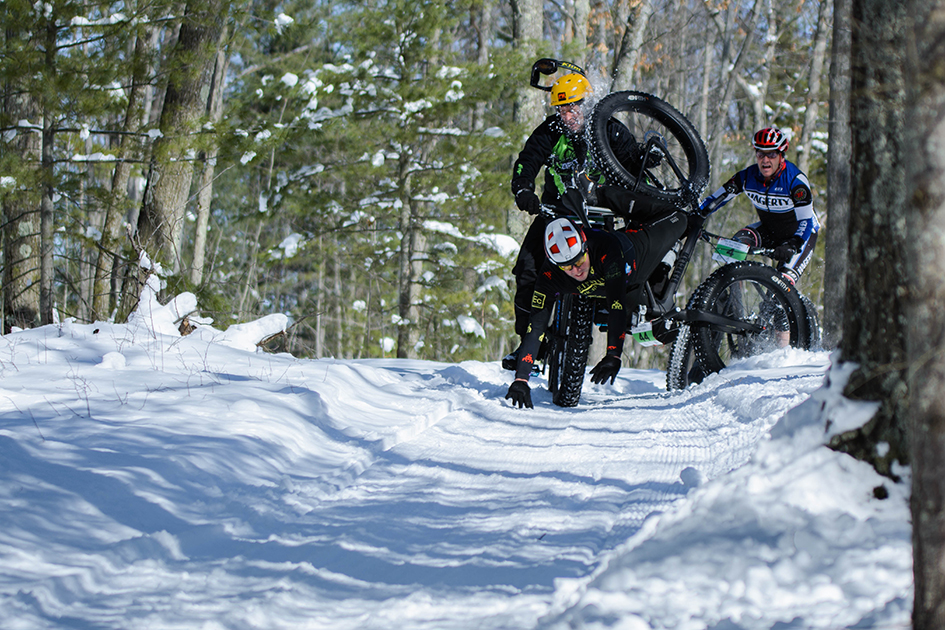
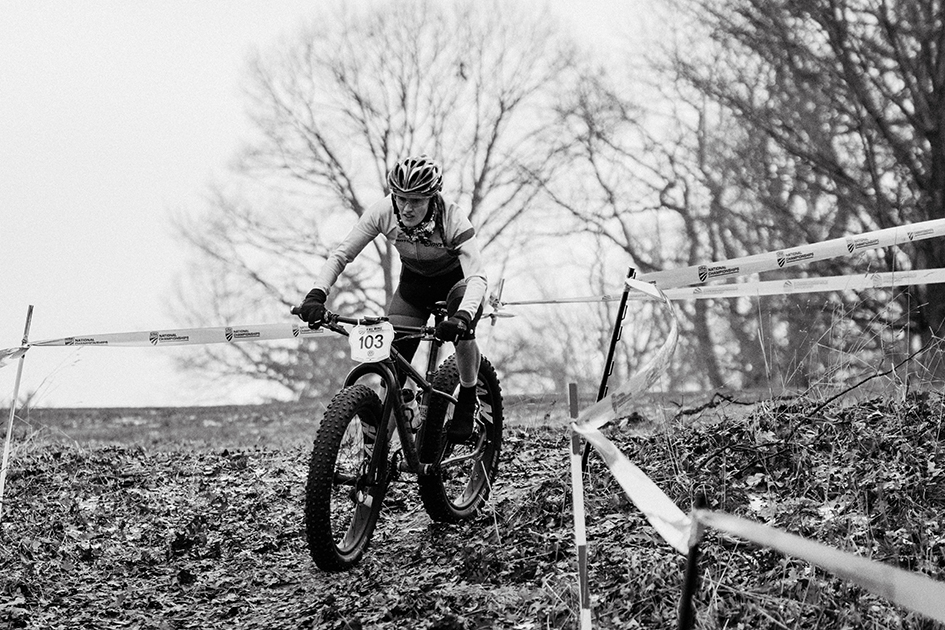
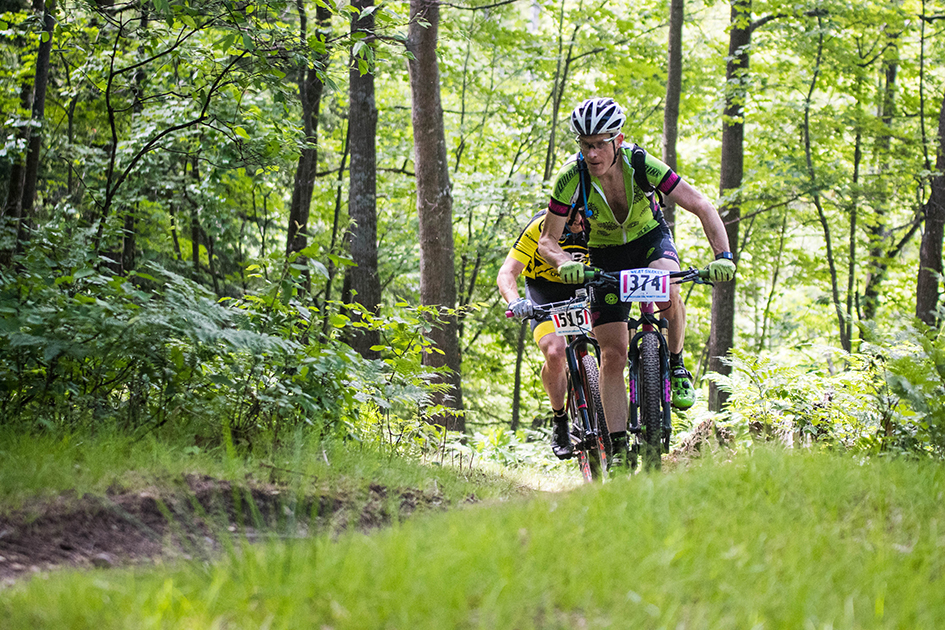
Here are some non-soccer examples from my “portfolio.”
***
***
***
***
Good luck, have fun.
Later.